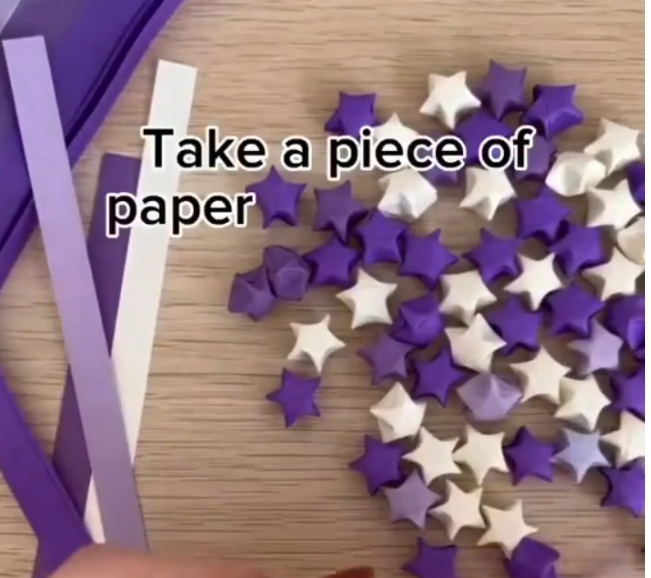
To make cute mini origami stars (often called “Lucky Stars”), you only need long, thin strips of paper. You can use pre-cut star paper or cut your own from magazines, gift wrap, or standard printer paper.
Mini paper star 3D ☆ Colored volumetric paper stars …
How To Make Origami Lucky Stars — Gathering Beauty
Materials Needed
Paper Strips: Recommended sizes are approximately
Scissors: To cut strips if you aren’t using pre-cut paper.
Step-by-Step Instructions
Form a Knot: Take one end of your paper strip and loop it over itself. Pull the short end through the loop to create a gentle knot.
Shape the Pentagon: Gently pull the knot tight and flatten it. It should naturally form a clean pentagon shape with a short “tail” and a long “tail”.
Tuck the Short Tail: Fold the short tail into the “pocket” of the pentagon or trim it if it’s too long.
Wrap the Long Tail: Wrap the remaining long strip around the pentagon. It will follow the edges naturally. Keep wrapping until you reach the end of the strip.
Secure the End: Tuck the very end of the strip into the last available pocket/fold to secure it.
Inflate the Star: Use your thumbnail or index finger to press into the center of each of the five flat edges. This “puffs” the pentagon into a 3D star shape.
Tips for Success
Don’t flatten the edges: When wrapping, keep the folds snug but avoid creasing the very edges of the pentagon too sharply; this makes it easier to puff out later.
Use the right paper weight: Standard printer paper or specialized “lucky star” paper works best. Cardstock is often too thick to puff out properly.
Consistent Width: Ensure your strips are cut at a uniform width to keep the star symmetrical.